Spot laser welding machine uses short, high-energy laser pulses to instantly melt materials and achieve local welding. By precisely controlling the energy input, the defective parts of the mold are fused with the filling material. Mold repair has 5 steps using a pulse laser welding machine.
Step 1: pre-processing
Remove oil stains and rust by using acetone or alcohol to ensure that the welding area is free of impurities.
Determine the location of cracks, wear, or defects through visual inspection and non-destructive testing (such as magnetic particle testing).
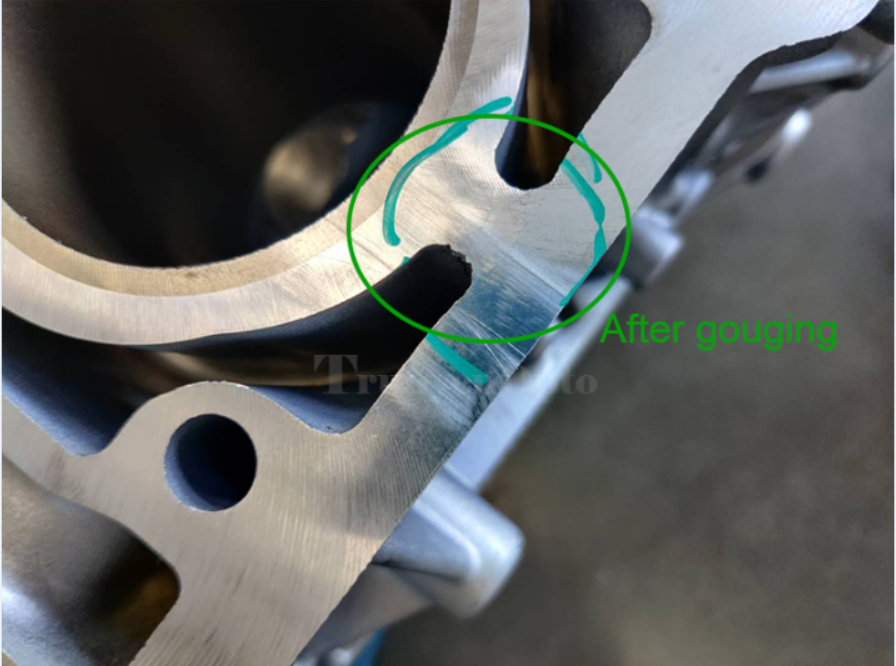
For grooves with deep cracks or large defects, the groove shape should be processed (such as grinding into V-shaped grooves) to enhance welding penetration.
Step 2: Set parameters of spot laser welding machine
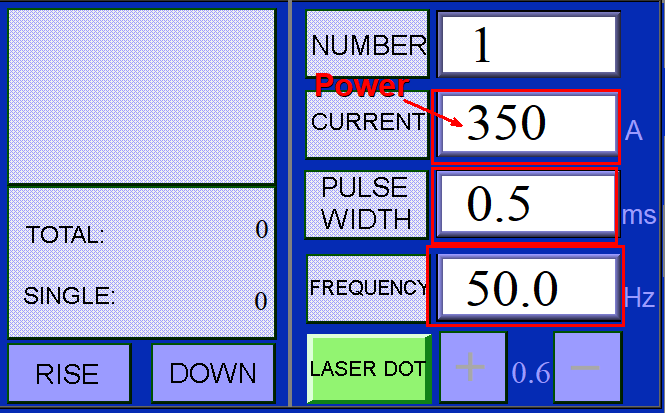
Usually, we can set the laser energy reference through the touch screen or Windows interface. The parameter interface of spot laser welding machines from different laser types and manufacturers may vary. Here, we take the YAG pulse laser welding machine as an example.
- Set laser power. Set power (0-350) based on material thickness (usually 0.1-3mm).
- Set frequency and pulse width. If the groove of the mold is relatively large, we can set the frequency higher, such as 50-100Hz. If the mold has a small crack, we usually use low frequency。
- Set the spot and defocus amount. A small spot (0.1mm) improves accuracy, and the defocus amount is adjusted to control the depth of the molten pool.
Step 3: Use the protect gas
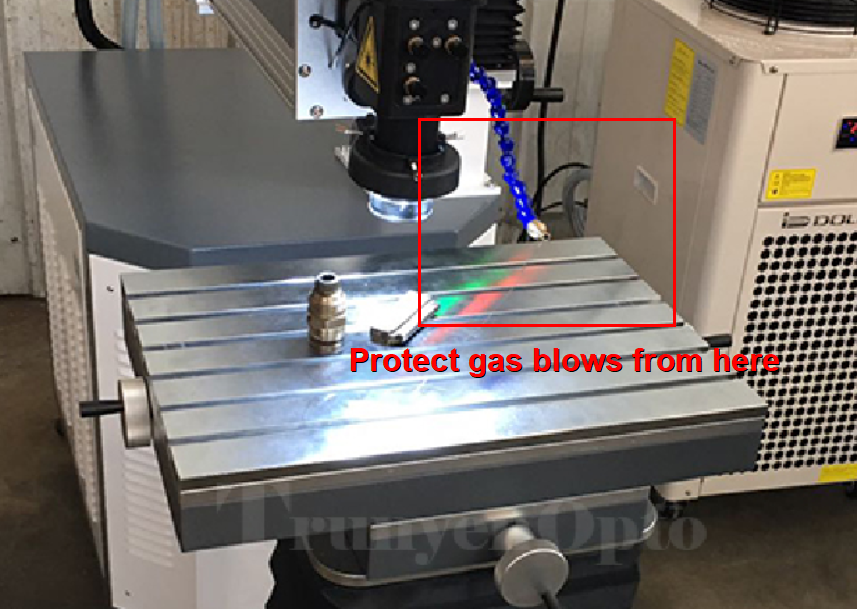
We can use argon or nitrogen gas with a purity of ≥ 99.99% to blow air simultaneously during welding repair, with a flow rate of 10-20L/min. It can prevent oxidation or nitridation of the repaired surface. Usually, the mold laser welding machine is equipped with at least one protective gas device.
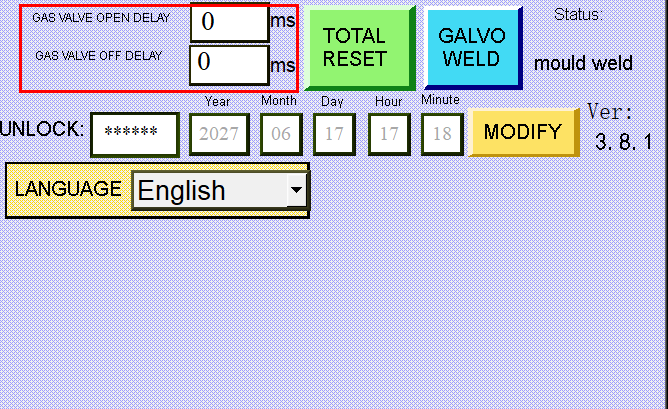
When using a mould welding machine, we can adjust the gas blowing time by modifying the [GAS VALUE OPEN DELSY] and [GAS VALUE OFF DELAY] parameters.
Step 4: Welding with the laser welder
Here are 2 methods to weld: one is the direct melting method, another is the filler method.
- If the groove of the grinding tool is small, we use the direct melting method to focus the laser on the groove and emit the laser. This situation does not require auxiliary filling materials at the forehead.
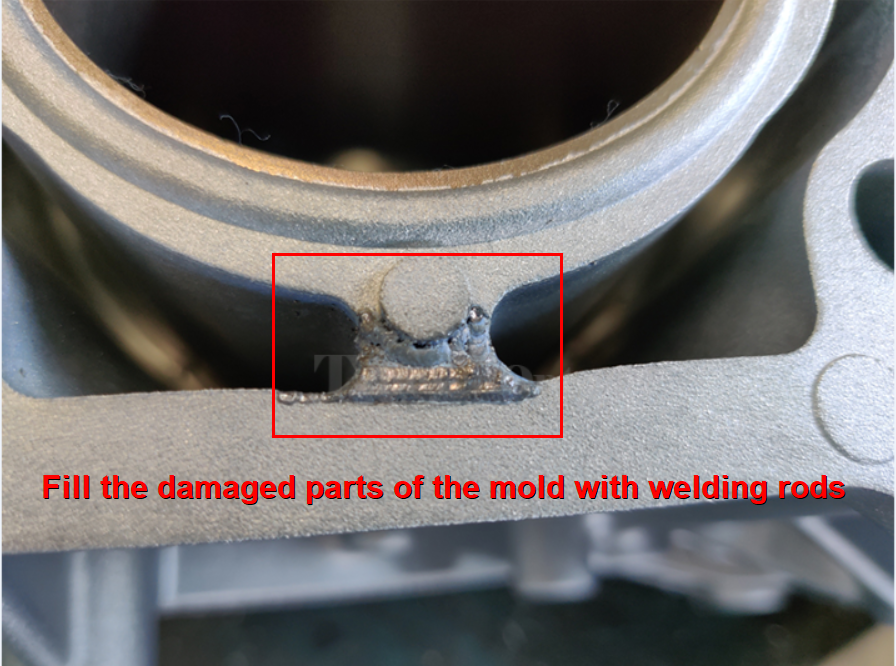
- If the groove of the grinding tool is large, we need to use welding rods as fillers, focus the laser on the welding rod and groove, and emit the laser.
Step 5: Post processing
Finally, the welding surface needs to be processed. Common methods include manual polishing or mechanical milling.
The mold is finally repaired by removing excess material from the groove surface.